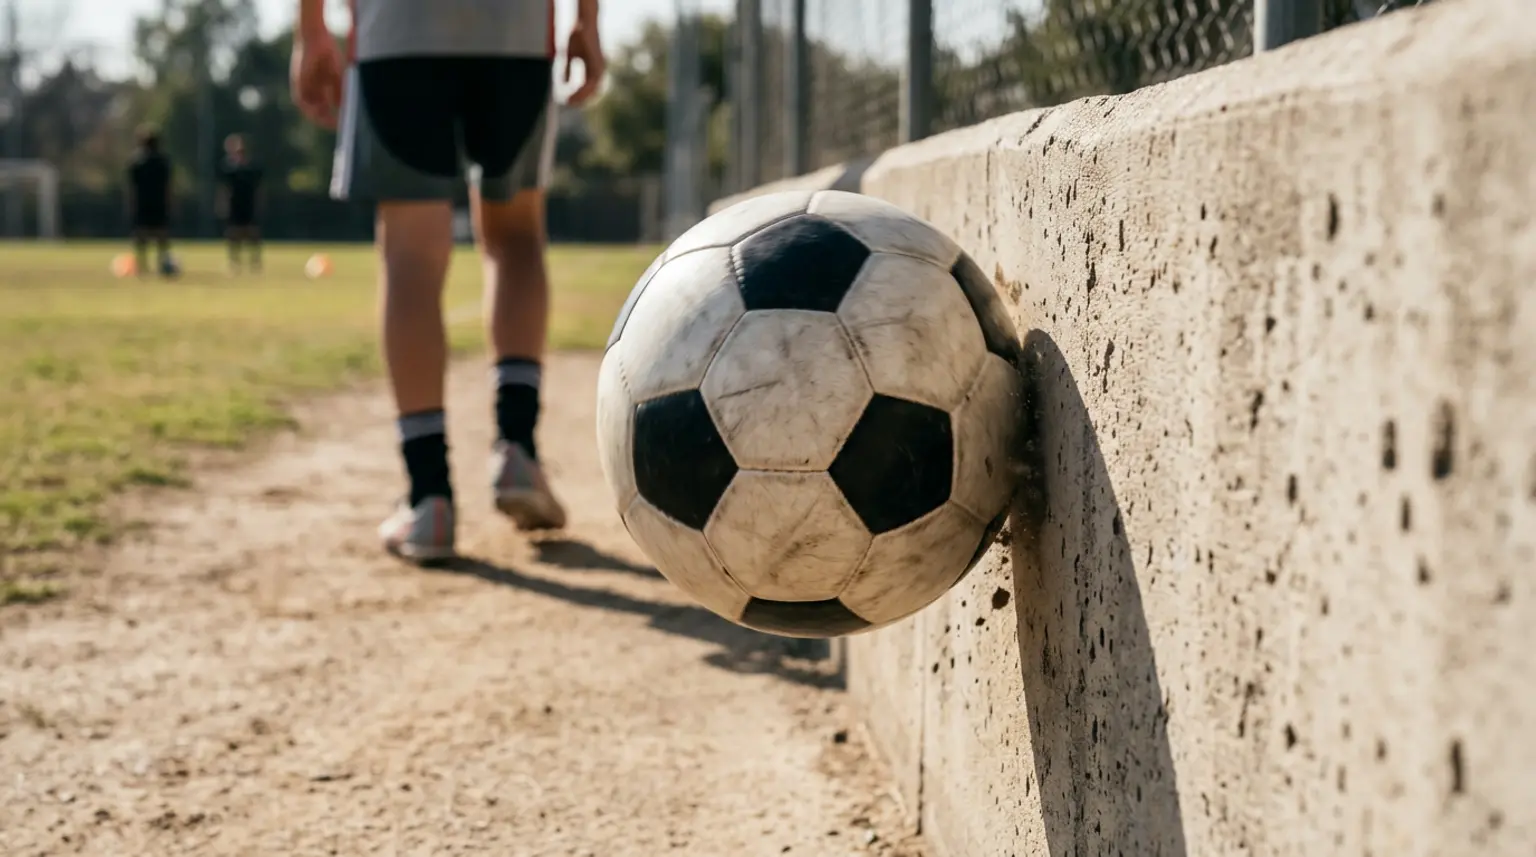
How to Improve Your First Touch in Soccer: Drills and Tips
A good first touch in soccer means controlling an incoming ball so it ends up exactly where you want it, ready for your next action. To improve it, you need to understand three things: how to cushion the ball, how to position your body, and which surface of your foot to use. Then you need repetition. Players who practice first touch drills for 10 to 15 minutes a day see noticeable improvement within 2 to 3 weeks.
First touch is the single skill that separates confident players from ones who look uncomfortable on the ball. A clean first touch creates time and space. A poor one invites pressure and gives the ball away. US Soccer identifies first touch as a key element of game mastery at every age level, and it is one of the first things scouts and coaches evaluate when watching a player.
Why does first touch matter so much in soccer?
Every action on the field starts with a first touch. Whether a player is receiving a pass, settling a long ball, or bringing down a cross, the quality of that initial contact determines what happens next. A good first touch:
Creates time. When the ball is under control immediately, the player has an extra half-second to scan the field, pick a pass, or take a shot. That sounds small, but at any level of the game, half a second is the difference between playing with composure and being rushed.
Creates space. A directional first touch, one that moves the ball into open space rather than stopping it dead, puts distance between the player and the nearest defender. Defenders close down quickly. A touch that moves the ball 2 to 3 feet in the right direction forces them to adjust.
Reduces turnovers. Most turnovers in youth soccer happen not from bad decisions, but from poor ball control. A heavy touch that bounces away or a touch that goes under the player's feet gives the opponent a free chance to win possession. Cleaning up first touch reduces unforced errors across the entire game.
What are the key techniques for a good first touch?
Three fundamentals determine first touch quality: cushioning, body shape, and surface selection.
Cushioning
Cushioning means absorbing the energy of the incoming ball so it does not bounce away from you. Think of it like catching an egg. If your foot is rigid when the ball arrives, it will ricochet off. If you withdraw your foot slightly as the ball makes contact, it absorbs the impact and the ball stays close.
How to practice: Have a partner (or a wall) pass the ball to you at moderate speed. As the ball arrives at your foot, pull your foot back 2 to 3 inches at the moment of contact. The ball should drop softly within a foot of your standing leg. Start at close range (5 yards) and gradually increase the distance and speed of the pass.
Body shape
Where your body is facing when you receive the ball matters as much as the touch itself. Players who receive the ball square-on, with their chest and hips facing the passer, limit their options. They can only play backward or turn slowly.
The better approach: Open your body at a slight angle (about 45 degrees) before the ball arrives. This lets you see both the passer and the direction you want to go. Your first touch can then be played forward or to the side, keeping the play moving. Coaches call this "checking your shoulder" or "scanning" before receiving.
Surface selection
Different situations call for different parts of the foot:
Inside of the foot: The most common surface for receiving. It offers the largest flat area, which makes it easiest to control the ball. Best for ground passes arriving from the front or at an angle.
Outside of the foot: Used when you want to take the ball across your body or away from pressure in one motion. It requires more practice but creates excellent directional touches that wrong-foot defenders.
Sole of the foot: Useful for stopping the ball dead, especially in tight spaces. Players in futsal rely heavily on sole control. It is less common in 11v11 but valuable in crowded midfield areas.
Thigh and chest: For balls arriving in the air. Lean back slightly, make contact with a relaxed surface, and guide the ball down to your feet. The chest is best for high balls. The thigh works for mid-height passes.
5 drills to improve first touch at home
Drill 1: Wall passing (two-touch)
Stand 6 to 8 feet from a wall. Pass the ball against the wall with the inside of your foot. When it returns, take one controlled touch to settle it, then pass again. Do 20 reps with each foot. Focus on a clean, soft first touch that sets up the second.
Progression: Move to one-touch passing. Pass and receive with the same foot, no settling touch. This forces faster reactions and cleaner technique.
Drill 2: Directional first touch with wall
Same setup as Drill 1, but instead of stopping the ball in front of you, take your first touch to the left or right. Pass the ball against the wall, and as it returns, redirect it 3 feet to either side with the inside or outside of your foot. Step to the ball, pass again. Alternate directions.
This trains the most valuable type of first touch: one that moves you away from pressure while maintaining control.
Drill 3: Drop and catch (aerial control)
Hold the ball at chest height. Drop it and let it bounce once. As it rises, cushion it with the top of your foot (laces) so it barely comes off the ground. Catch it with your hands. Repeat 10 times per foot.
Progression: Instead of catching, try to juggle twice after the cushion touch. Then three times. This builds the soft touch needed to control long passes, goal kicks, and crosses in game situations.
Drill 4: Throw and thigh control
Throw the ball straight up about 6 to 8 feet. As it comes down, cushion it with your thigh so it drops gently to your feet. Control it with one more touch and pass to a wall or stop it dead.
Progression: Add a chest cushion before the thigh touch. Throw the ball higher and practice controlling it from different heights. This simulates the kind of aerial balls players face in real games, particularly from goal kicks and long passes.
Drill 5: Turn and receive
Place two markers about 10 yards apart. Start at one marker facing away from the other. Have a partner pass the ball toward you (or kick it off a wall and run to receive the rebound). As the ball arrives, open your body and take a first touch around the marker, turning 180 degrees and dribbling to the second marker.
Why this matters: In games, players rarely receive the ball facing forward. This drill trains the turn-and-play skill that separates players who can keep the ball moving from those who get stuck facing their own goal.
How long does it take to improve first touch?
With 10 to 15 minutes of focused daily practice, most youth players notice improvement within 2 to 3 weeks. The first thing that changes is confidence. Players start to trust their touch and attempt things in games they previously avoided, like receiving under pressure or playing with their back to goal.
Full mastery takes longer. First touch is a skill that professional players continue to refine throughout their careers. But the initial gains from consistent practice are fast and visible, especially for players who have never done structured individual technical work before.
Coach Roman Pivarnik, who holds the UEFA Pro Licence and coached at the UEFA Champions League level for over 25 years, emphasizes first touch as one of the 8 core skill areas in his player development methodology. FlickTec tracks First Touch progress alongside Ball Control, Passing, Dribbling, Finishing, Strength, Speed, and Stamina, giving players and coaches visibility into where improvement is happening.
Frequently Asked Questions
Can first touch be improved without a partner?
Yes. A wall is the best training partner for first touch work. It always passes back, it never gets tired, and it forces quick reactions. Drills 1 through 4 above can all be done completely solo.
What is the most common first touch mistake in youth soccer?
Receiving the ball with a stiff, rigid foot instead of cushioning it. The ball bounces away and the player loses possession. The fix is simple: practice withdrawing the foot slightly at the moment of contact to absorb the ball's energy.
Should young players practice first touch with both feet?
Absolutely. Every first touch drill should be done with both the dominant and weaker foot. Players who can receive cleanly with either foot are far harder to defend because they can play in any direction regardless of which side the ball comes from.
How does first touch differ by position?
Strikers need a first touch that gets them facing goal quickly. Midfielders need a touch that opens up passing lanes on both sides. Defenders need a touch that takes them away from pressure and into safe space. The technique is the same, but the direction and intent of the touch changes based on position and game situation.
At what age should kids start working on first touch?
From the very beginning. Even 5 and 6 year olds can practice basic ball reception and cushioning. Formal first touch drills like the ones above are appropriate starting around age 8. The earlier a player builds these habits, the more natural they become.
First touch is the foundation skill that makes every other skill possible. A player with a sharp first touch looks composed. A player without one looks frantic. The difference is not talent. It is repetition.
For daily guided sessions that include first touch training, check out FlickTec, with 500+ video exercises designed for youth players aged 7 and up.